.Services v2020.3
Overview
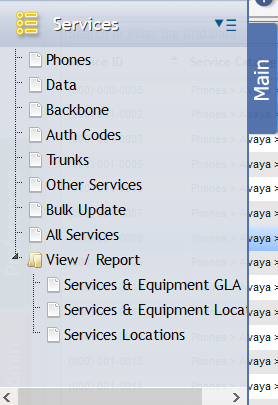
The Services section provides access to Phones, Data, Backbone, Auth Codes, Trunks, and Other Services. This section allows the User to view and manually maintain all the Services tracked in the application. This section allows the User organization's financial team to monitor and make changes to the specific Services that are available to customers or that the organization is currently providing.
Services are organized by the types of Services the User organization provides to customers including Services like Phones, Data, Backbone, Authorization (Auth) Codes, Trunks, and Other Services. The offered Service types can be customized by the System Administrator who can add new types of Services to these offerings.
By clicking on a type of Service listed in the Services folder, Users can access type-specific grids that list every Service that the organization is currently providing or that is currently available for use.
Note: This list of services differs from the Services Catalog in that Services only account for tangible services that are currently in-use or available for use. For example, while the Services Catalog lists all of the phone service types, the User organization could hypothetically provide the items that populate the Services grid are specific, ready-to-use Phone Services with working phone numbers and relevant Equipment.
Once a Service is created, the Service Catalog can not be changed, except by using Bulk Update, on available Services, or by using an Upgrade/Downgrade Service Desk Action. Both the 'Services API Endpoint' and 'Services Import' also are able to update the Service Catalog, similarly to Bulk Updating does.
General Service Grid Functionality
The following is generalized functionality that can appear on various Services grids, based on how those Services behave. Most commonly this functionality refers to Phone, Trunk, Authorization Code and Other Services.
Age Selected
The Aging Process in PCR-360 is an automated data removal process that will delete old information from Inactive Services. Examples of data that will be removed are the Owner, Service Host, and Location fields. Some information can be deleted or remain on the Service for future use on the Service ID. An example is the User Defined Fields (UDFs) can have the option to have their data persist or be scrubbed on Aging with the Aging Persist flag. Another example is the Configuration Option DELETE_CHARGES_DURING_AGING which will allow you to delete old Charges or leave them on the Service. Sometimes it can be necessary to manually "Age" a Service to make it active again. This process is normally handled automatically by either the setting on the Service Catalog or the Tenant Management Aging fields.
To manually Age a Service select the Service and click the button.
There are a few requirements before a Service can be aged manually:
- The Service must be 'Inactive'.
- There cannot be any active recurring Charges. If there are active recurring Charges and the Service is Inactive, the status of the Services will first have to be made 'Active' to stop the Charges. Then the Service can be set to Inactive once again.
- There cannot be any unbilled Charges. If there are, the billing process must run first to ensure proper billing for the Service.
The History Report of a Service will still show all the old data of the Service.
Once a Service has been "Aged" successfully, PCR-360 will change the status to available so that the Service ID can be reused on Service Orders for a new Owner.
There may occur a situation where a Service is desired to no longer be available after it has been "Aged" (such as if the number was receiving harassing phone calls). The best way to handle this is to set the Service to a Service Pool with Services that are designated "Do Not Use". By adding the Service to this Pool, the Service will be designated to not be used simply by being in the "Do Not Use" Pool. Additionally, the Administrator can add a UDF that will persist through Aging as well, with the flag "Verify Field Data" set to call attention to UDF. Using this method provides a backstop to the need to not use the Service since a Remark could easily be overlooked when re-assigning the Service with an Add Action.
Adding a Range of Services
Users can add Services in bulk by clicking on the button located on the Grid Toolbar above the Services grid. In the window, click the Search Icon in the 'Service Type' field and select a type from the list, enter a range of phone numbers to a 'Service Type', and click the 'Save New' button. Each phone number included within the specified range will appear as a separate Service in the Services grid.
Estimate Billing
When a User selects a Service and clicks the button on the Grid, they will open the Estimate Billing form. From this Form, a User can generate an estimation of expected Charges over a provided Billing Period, by clicking the button.
How does the Available Services Picker work
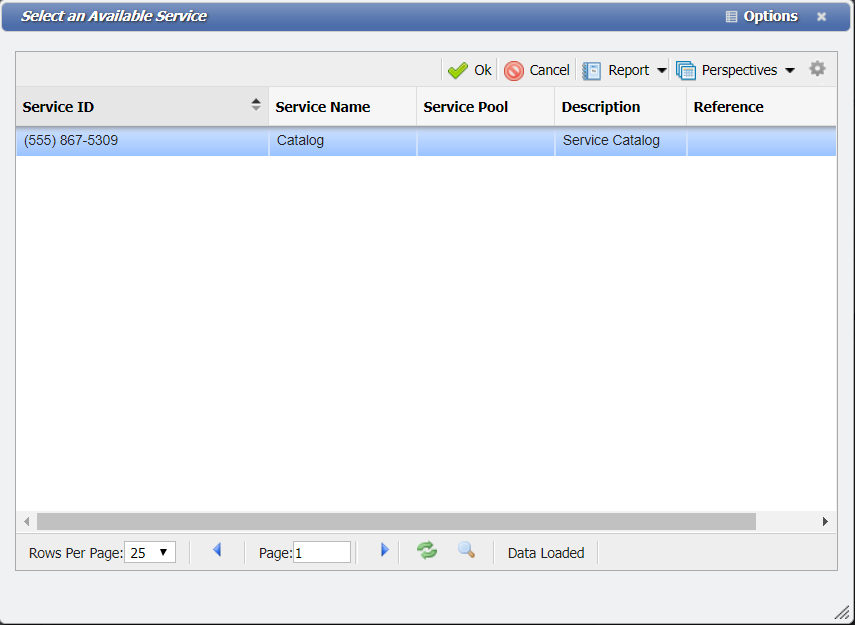
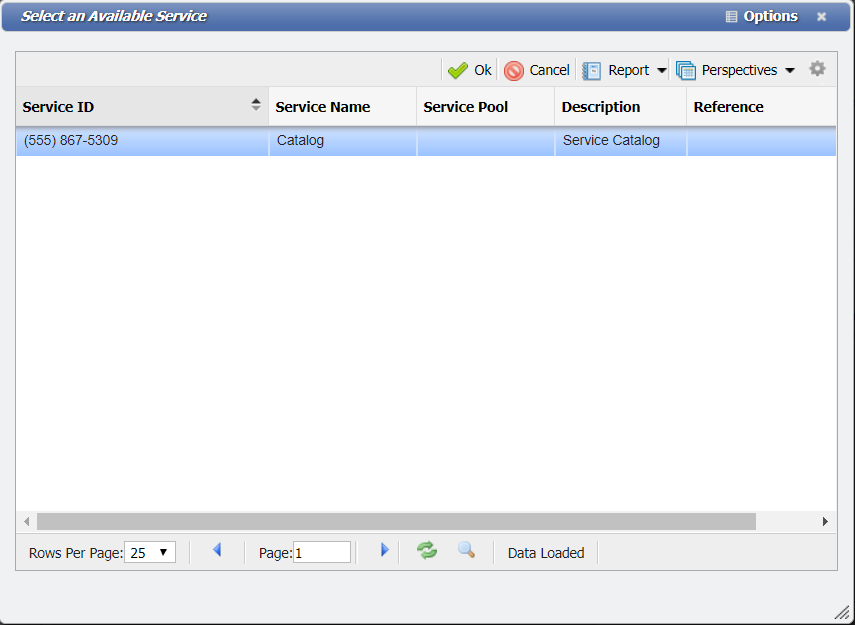
The 'Available Services' () picker on Add Actions will automatically limit the Services so that the User will only be able to select valid Services. There are a number of data states that will change what Services are possible to select in the Picker's grid. These states allow an Admin to control what Services will appear for a Service Rep to select on the Add Action based on an organization's needs.
Valid States
- Available Status - The Status must be Available.
- Service Catalog - The Service Catalog must match.
- Parent Catalogs - Parent Catalogs can also load into the picker, IF the Format matches.
- Service Pool - If the Services are set up in Pools, only the Services in the Pool will load into the picker.
Custom Status states can be added by a User with Administrator privileges in the List Values grid. However, in order to assign a Custom Status to a Service, the Service will require an Owner. If the Service doesn't belong to anyone it should just be Available.
Service Catalog and Available Status
Firstly, the Service Catalog that is selected on the Action must match the Services that will appear in the 'Available Services' Picker.
When the User clicks on the Available Services Picker then any Service with a Status of 'Available', will appear in the picker for the User to select. Only Services that are Available can be selected in the picker.
Select Parent record
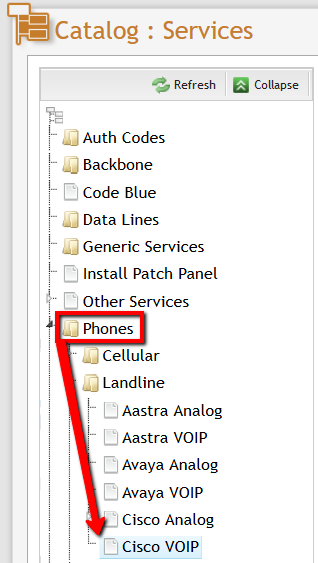
The Tree structure of Service Catalogs allows for some interesting extra functionality. Any Service that is a parent record to the Service Catalog that is selected on the Add Action will also appear in the Available Service picker. This will allow the User to simultaneously select Service with the parent Service Catalog set and alter the Service's Service Catalog to the selected child Service Catalog. This situation is useful for making the Aging Process more User-friendly by setting Aged Services to a parent Catalog, so they can be set to any valid child Catalog on new Add Actions.
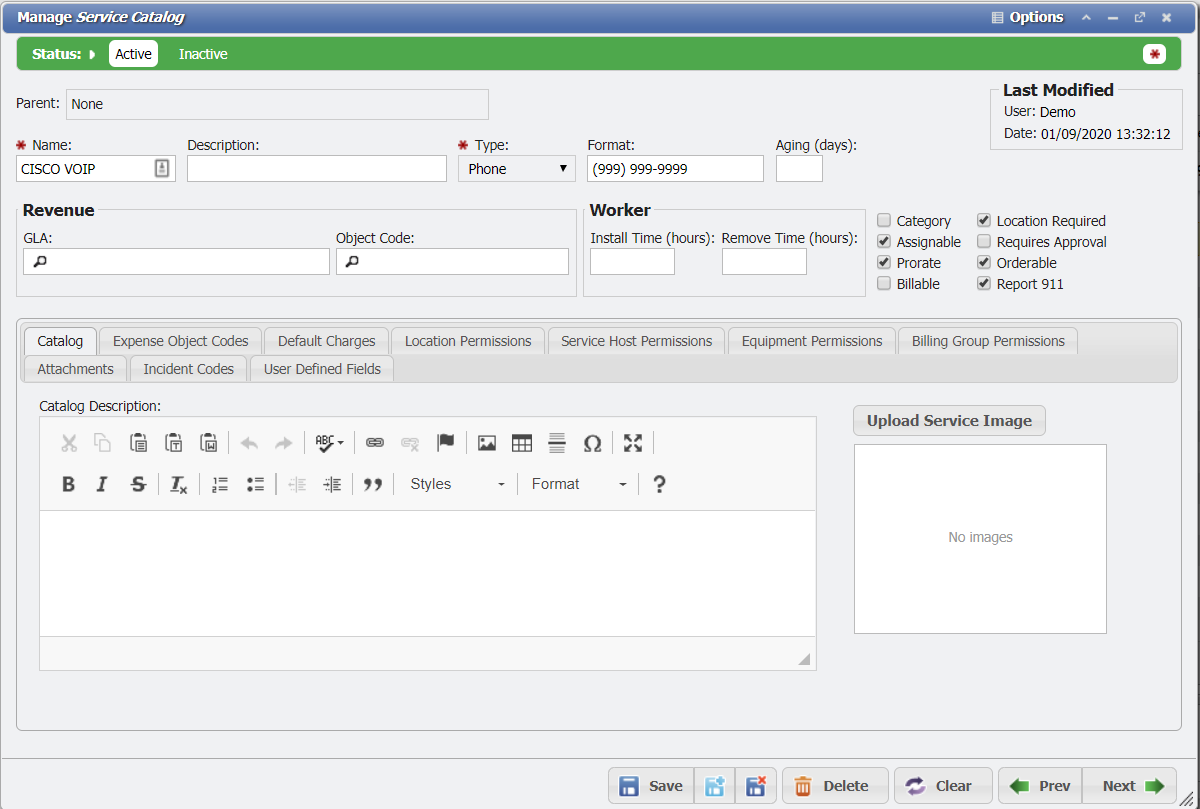
For this example, the Phones Category is a parent record for the child Cisco VOIP Service Catalog.
Note: The Service Type of the Child and the parent Service Catalogs must match in order for this to work. For example, Phones for Phones, Data for Data and so on.
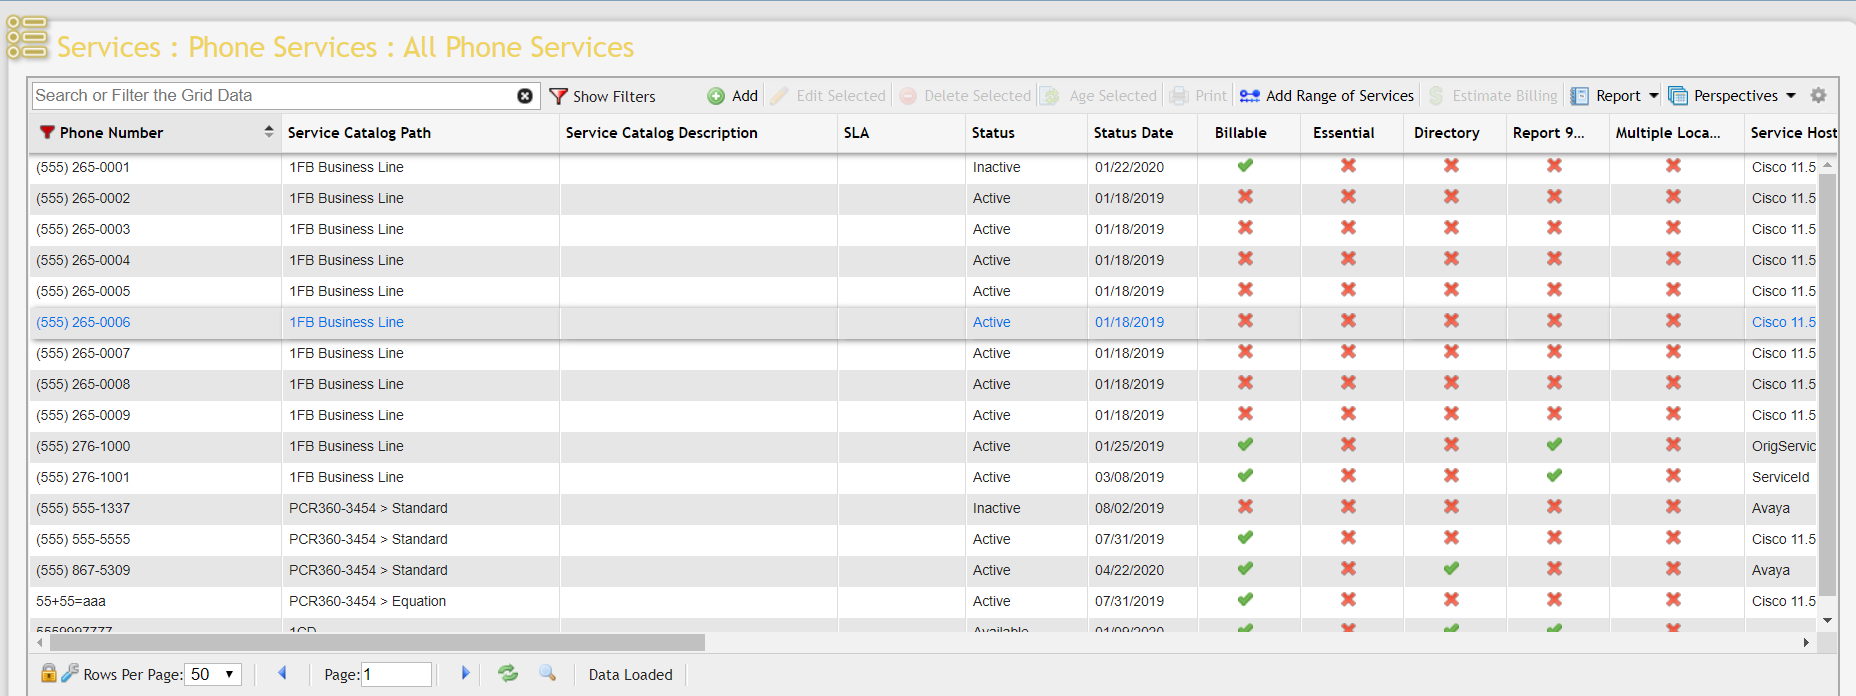
There are five Services in this example, from (616)878-1001 to (616)878-1005, that are set to the parent Catalog of Phones in the Phones grid. The rest of the Services from (616)878-1006 to (616)878-1013 are all set to the child Service Catalog Cisco VOIP.
As in the first example, the User starts with the Cisco VOIP catalog selected.
When the User clicks the Available Service Picker, there will be a list of all the Services that are either Phones or Cisco VOIP in the picker to select.
When the User selects the Service (616)878-1004, which has a parent Service Catalog of Phones set, that Service will be added to the Add Action's Phone Number field. The Service Catalog field will remain set to the Cisco VOIP child Catalog. When the User completes the Add Action the Service Catalog will be automatically updated from the Phones catalog to the Cisco VOIP catalog along with the other completion logic for Actions.
Service Catalog Format
The 'Format' field of the parent Service Catalog must match the Format of the child Service Catalog to be selected in the Available Services picker. If the Format field does NOT match then the Service will not appear in the Available Service picker.
Matching Format
For this example, the Phones and Aastra VOIP Service Catalogs DO have a matching Format. In this case, the Format is blank for both Catalogs which counts for matching purposes. There are no Pools set for either Service Catalog.
The Phones Catalog has a blank Format.
The Aastra VOIP Catalog has a blank Format.
When the User clicks the Available Services picker with the Aastra VOIP Catalog selected:
The User will get a result set that includes both the Phones and the Aastra VOIP Catalogs.
Non-Matching Format
For this example, the Phones and Cisco VOIP Service Catalogs DO NOT have a matching Format. There are no Pools set for either of these Catalogs.
The Phones Catalog has a blank Format.
The Cisco VOIP Catalog has a Format of (999) 999-9999.
When the User clicks the Available Services picker with the 'Cisco VOIP' Catalog selected:
The User will get a result set that excludes the 'Phones' Service Catalog.
Services in Pools
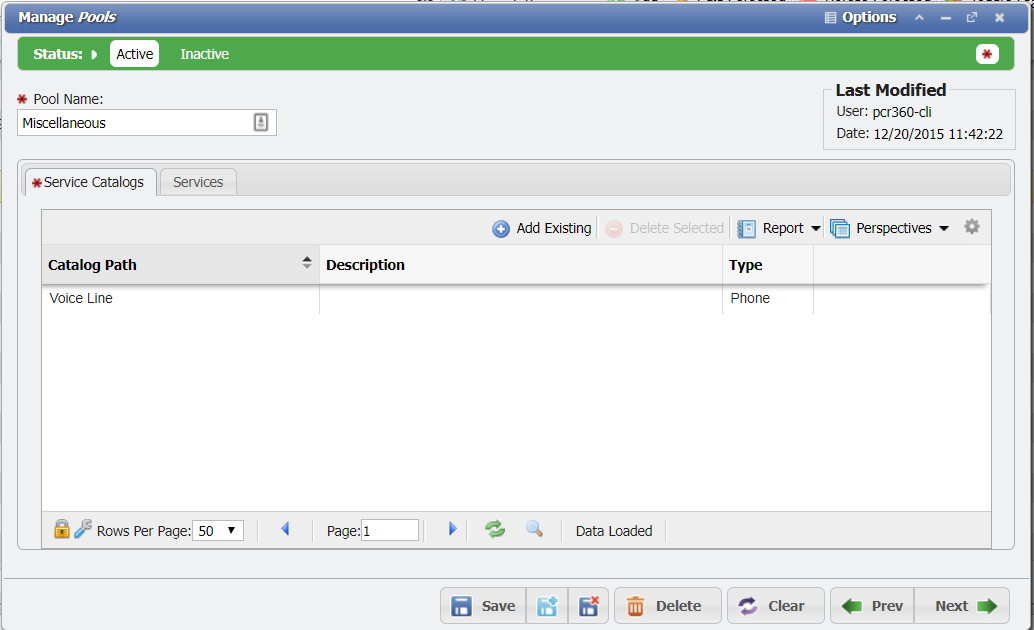
If there are Service Pools set up, then the Available Services must be in the Pool before the Services will appear in the Available Services picker.
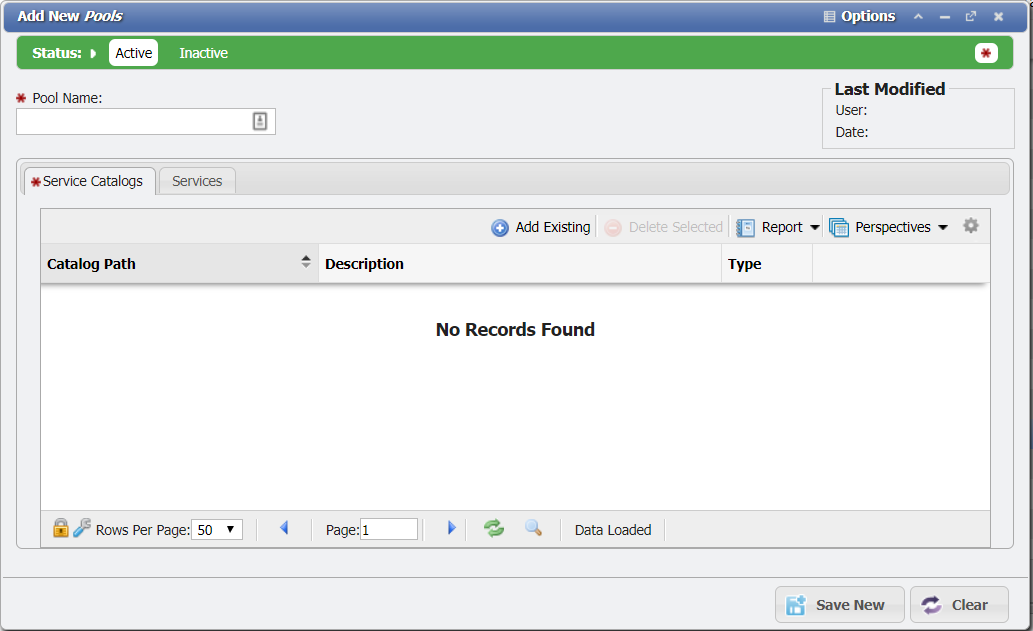
In this example, there is a new Service Pool named 'Available Service Pool' being created. This Service Pool is set to the 'Cisco VOIP' Service Catalog.
There are five Services being added to the Pool. The Services are in the range from (616)878-1001 to (616)878-1005.
What this means for the User on an Add Action is that the Available Service picker will be limited to only the Services in the Service Pool when the Service Catalog 'Cisco VOIP' is selected. The other Services that are assigned to this Service Catalog are prevented from appearing in the picker.
How can I make multiple Services in the same Location?
PCR-360 does not allow one Service in the same Location multiple times. The locations must be unique. PCR-360 will enable the ability to place each Service within a unique place within a room, which qualifies as a unique Location. By using this method, the Services are being set up in their own 'Sub-Location.' By creating Sub-Locations, the uniqueness of a Location which enables much of the auto selection logic for Cabling and Service Desk will be preserved.
Setting up Sub-Locations
There are several ways to set up Sub-Locations in PCR-360. Following is an example of a Sub-Location setup and how to create it.
East Wall vs West Wall
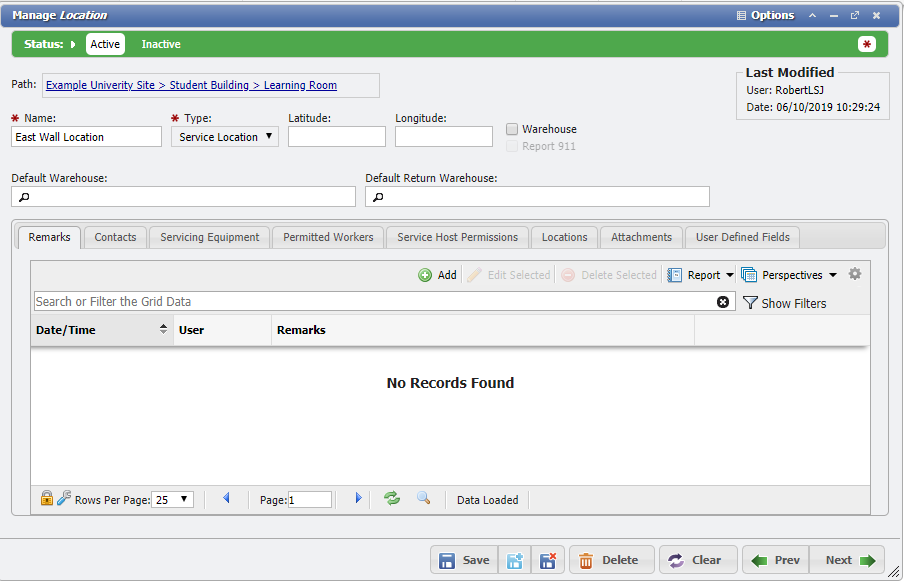
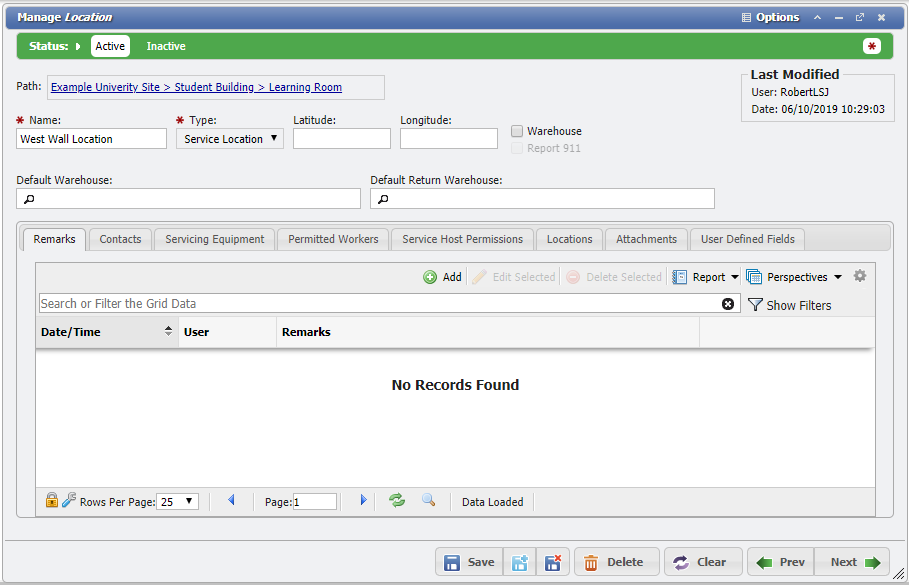
To set up Services in East and West Wall Locations do the following:
- Navigate to Main > Catalog > Locations and find the Site, Building, and Room to add the Services to.
- Select the room to add the Services to, then click on the Add Button.
- When the East Wall Location is added, set it up like this.
- When the West Wall Location is added, set it up like this.
- When everything is complete, the Catalog: Locations for the Sub-Locations should look like this.
- When the User wants to add Services to those East Wall and West Wall Locations, they will be able to use the Picker in the Location field in the Service to find these Sub-Locations.
The User can also use this method to create Sub-Locations in the same room with Multiple Jacks, Columns, and Cubicles within a room as well.
Can Remarks optionally persist through Aging?
With Aging the general idea is that the data on the Service should be removed. This would include any Remarks. So the question of "What happens when a Phone Number is receiving harassing phone calls?" arises. Normally, an Administrator might add Remarks to the Service to explain why a number is set to Inactive. However, since the Aging process might remove the Remarks about the harassing calls, that data then gets lost. So the real question here is how can an Administrator make it so that the Service is not reused after Aging to prevent the harassing calls from recurring for someone else? The best way to handle this is to set the Service to a Service Pool with Services that are designated "Do Not Use". By adding the Service to this Pool, the Service will be designated to not be used simply by being in the "Do Not Use" Pool. Additionally, the Administrator can add a User Defined Field (UDF) that will persist through Aging as well, with the flag "Verify Field Data" set to call attention to UDF. Using the method provides a backstop to the need to not use the Service since a Remark could easily be overlooked when re-assigning the Service with an Add Action.
Related Pages:
Help Desk Portal - Email: help@pcr.com - Phone: 616.259.9242
